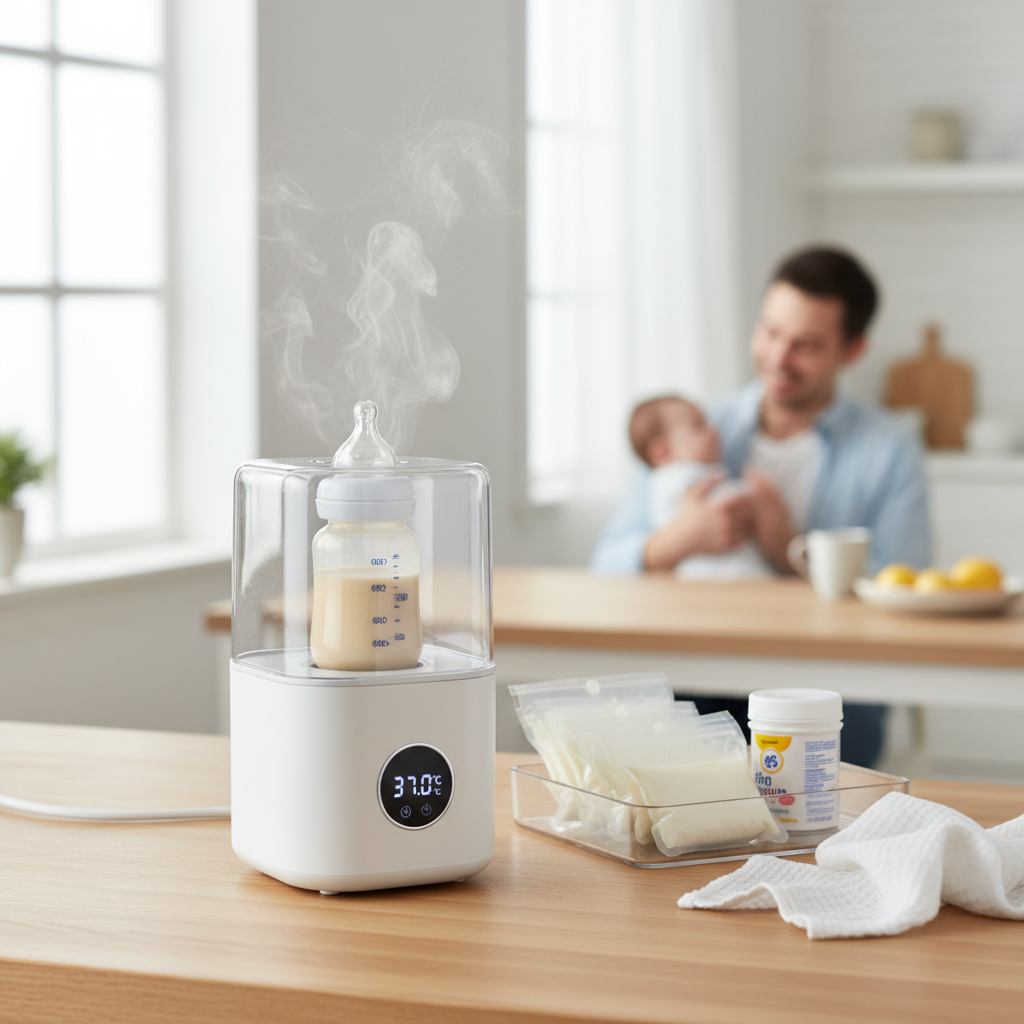
As a parent, ensuring every item that touches your baby’s food is impeccably clean is a top priority. Your milk warmer, a daily essential for many, is no exception. While it provides perfectly warmed milk, constant use with water can lead to an unseen problem: limescale buildup. This mineral residue can silently compromise your warmer’s efficiency and even affect its lifespan. But don’t worry, maintaining your milk warmer is simpler than you think, and the solution might already be in your pantry: white vinegar.
Why Descale Your Milk Warmer?
Regular descaling is not just about cleanliness; it’s about performance and hygiene. Over time, the heating element in your milk warmer can accumulate limescale, which are mineral deposits primarily from hard water. This buildup acts as an insulator, making your warmer work harder to reach the desired temperature, consuming more energy, and potentially leading to uneven heating of your baby’s milk. More critically, limescale can harbor bacteria, creating an unhygienic environment for your little one’s bottles. Ensuring your milk warmer is free of scale guarantees consistent heating, preserves the nutritional quality of milk by avoiding overheating, and extends the life of the appliance, protecting your investment.
Understanding Limescale: The Silent Culprit
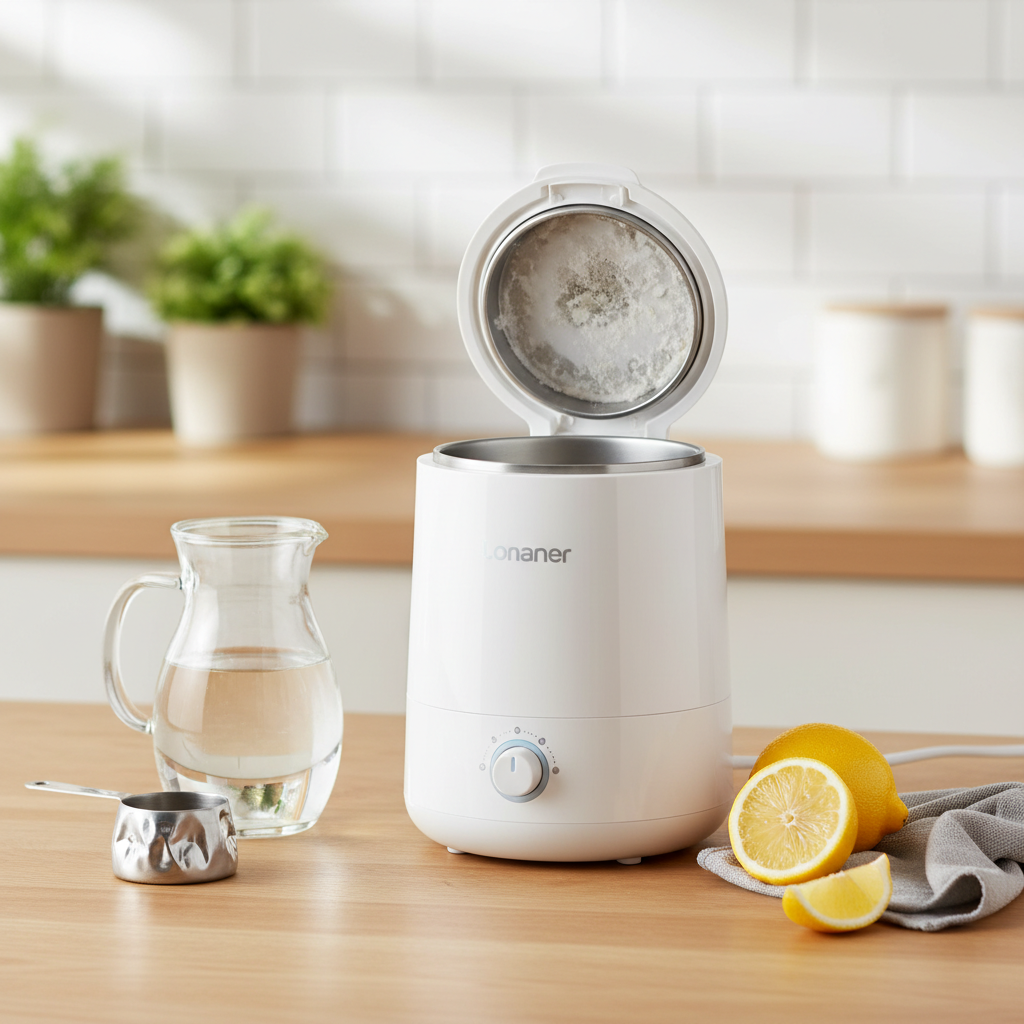
Limescale is a chalky, off-white substance composed mainly of calcium carbonate, left behind when hard water evaporates. Tap water in many regions contains varying levels of dissolved minerals, and when this water is heated repeatedly in appliances like milk warmers, these minerals precipitate and solidify on surfaces. You might notice it as white, crusty deposits on the heating plate or inside the water reservoir. If left unchecked, this buildup can become quite stubborn, reducing heat transfer efficiency and potentially causing your milk warmer to take longer to heat bottles or even malfunction. Recognizing these visual cues is the first step toward effective maintenance.
Why White Vinegar is the Go-To Descaling Solution
When it comes to tackling limescale, white vinegar is a household hero. Its acetic acid content makes it a natural and remarkably effective descaling agent. Unlike harsh chemical descalers, white vinegar is food-safe, non-toxic, and readily available, making it a preferred choice for baby-related appliances. It effectively breaks down and dissolves mineral deposits without leaving behind harmful residues or strong chemical odors. Its affordability and widespread availability also make it a practical and environmentally conscious option for routine appliance maintenance, offering peace of mind that you’re cleaning safely for your baby.
Step-by-Step Guide: Descaling Your Milk Warmer with Vinegar
Descaling your milk warmer with vinegar is a straightforward process that takes just a few steps. Follow these instructions carefully to restore your appliance to its optimal condition.
Step 1: Preparation and Safety First
|
Our Picks for the Best Milk warmer in 2026
As an Amazon Associate I earn from qualifying purchases.
|
||
| Num | Product | Action |
|---|---|---|
| 1 | Momcozy Portable Bottle Warmer for Travel – Dual Heating Modes for Breast Milk & Water, Portable Milk Warmer with Fast Heating & Long Battery Life, 17 Ounces Large Capacity to Meet Your All-Day Needs |

|
| 2 | Milk Frother, 4-in-1 Electric Milk Steamer, 350ml/11.8oz Automatic Frother Machine for Coffee, Warm and Cold Foam, Temperature Control for Latte, Cappuccino, Hot Chocolate |
|
| 3 | Baby Brezza New and Improved Formula Pro Advanced Formula Dispenser Machine - Automatically Mix a Warm Formula Bottle Instantly - Easily Make Bottle with Automatic Powder Blending, White |
|
| 4 | Bottle Warmer, Grownsy 8-in-1 Fast Baby Bottle Warmer with Timer, Safe for Breastmilk Nutrients, Accurate Temperature Control, with Defrost, Sterili-zing, Keep Warm, Heats Baby Food & Bottles |
|
| 5 | SIMPLETASTE Milk Frother, 4-in-1 Electric Milk Frother and Steamer, Automatic Warm and Cold Foam Maker and Milk Warmer for Latte, Cappuccinos, Dark Blue |
|
| 6 | Momcozy Portable Bottle Warmer for Travel – Dual Heating Modes for Breast Milk & Water, Portable Milk Warmer with Fast Heating & Long Battery Life, 17 Ounces Large Capacity, Purple |
|
| 7 | Philips Avent Premium Fast Bottle Warmer, with Smart Temperature Control, Water Bath Technology, Automatic Shut-Off, Model SCF358 |
|
| 8 | SIMPLETASTE Milk Frother, 4-in-1 Electric Milk Steamer, Automatic Warm and Cold Foam Maker and Milk Warmer for Latte, Cappuccinos, Macchiato |
|
| 9 | Momcozy Baby Bottle Warmer for Breast Milk Formula Food, Fullest Nutrients Preserved, Fast Heat, Night Light for Nighttime Breastfeeding, One-Touch Easy Use, Newborn Essentials Supplies Gift for Mom |
|
| 10 | Gevi Milk Frother,5 in 1 Stainless Steel Professional Milk Steamer,Easy to Clean Hot Chocolate Maker,for Hot and Cold Milk Frother for Latte,Macchiato,Cappuccino and Hot Chocolate |
|
Before you begin, always ensure the milk warmer is unplugged from the power outlet and completely cool. Empty any remaining water from the reservoir. Safety is paramount, so disconnecting the power not only protects the device from damage but also ensures your personal safety during the cleaning process.
Step 2: Create Your Descaling Solution
For most milk warmers, a simple solution of white vinegar and water is sufficient. A common recommendation is to mix equal parts distilled white vinegar and water. Alternatively, a ratio of one part vinegar to two parts water (e.g., 60 ml of white vinegar with 120 ml of cold water) can also be effective, especially for light scaling. Use household white vinegar, not stronger acetic acid, to avoid damaging the appliance.
Step 3: Pour and Activate
Carefully pour the vinegar and water solution into the milk warmer’s water reservoir, ensuring it covers the heating element and any visible limescale. Do not overfill. If your warmer has different settings, some manufacturers suggest using a low warming setting or an express warming setting, allowing the appliance to operate for 10-15 minutes. For heavy buildup, some models benefit from simply letting the solution soak for at least 30 minutes, or even overnight, without heating.
Step 4: Let it Work Its Magic
Allow the solution to remain in the warmer until the limescale has dissolved. If you ran the warmer, let the contents cool down a bit before proceeding. The vinegar’s acidity will chemically react with the mineral deposits, breaking them down. You might observe some bubbling or fizzing, which is a sign that the descaling action is taking place.
Step 5: Rinse Thoroughly
Once the descaling is complete and the solution has done its job, pour out the vinegar mixture into the sink. Rinse the warmer’s interior thoroughly with fresh tap water multiple times. This step is crucial to remove any lingering vinegar smell or residue. Ensure no water gets into the electrical components or vents during rinsing.
Step 6: Final Wipe-Down and Air Dry
After rinsing, wipe down the interior and exterior of the milk warmer with a clean, soft cloth. Then, allow it to air dry completely before plugging it back in or storing it. Running a full tank of clean water through the warmer and discarding it before resuming use can also help ensure no vinegar taste or smell remains.
How Often Should You Descale?
The frequency of descaling largely depends on your water hardness and how often you use your milk warmer. If you live in an area with hard water, you may need to descale more frequently. A general guideline is to descale your milk warmer at least once a month. However, if you notice white, chalky buildup on the heating plate sooner, it’s an indication that a descaling session is due. Regular checks for visible scale will help you determine the optimal schedule for your specific usage.
Beyond Descaling: Maintaining a Pristine Milk Warmer
While descaling tackles limescale, general cleaning and good habits are equally important for overall hygiene and longevity.
- Daily Wipe-Down: After each use, wipe down the heating plate and water reservoir with a soft cloth to prevent immediate buildup.
- Weekly Cleaning: It’s recommended to clean all internal and external surfaces with warm water and a mild detergent weekly to ensure everything stays hygienic.
- Empty After Each Use: If possible, empty and dry the water chamber after every use. This simple habit can significantly reduce limescale formation.
- Consider Distilled Water: Using distilled or filtered water can minimize mineral deposits, extending the time between descaling treatments.
“A well-maintained milk warmer not only ensures your baby’s milk is safely warmed but also gives parents invaluable peace of mind during those demanding early months.”
Conclusion
A clean and efficiently running milk warmer is a cornerstone of convenient infant feeding. Regular descaling with humble white vinegar is a simple, safe, and effective way to combat limescale buildup, ensuring your appliance delivers perfectly warmed milk every time. By incorporating this easy maintenance routine into your schedule, you’ll safeguard your baby’s health, extend the life of your warmer, and maintain its optimal performance. Don’t let limescale compromise your peace of mind; a few minutes of care can make all the difference. What other daily baby appliance maintenance tasks do you find most challenging?
Frequently Asked Questions
What kind of vinegar should I use for descaling?
You should use plain white distilled vinegar. Avoid using apple cider vinegar, balsamic vinegar, or cleaning vinegars with added scents or chemicals, as these can leave residues or damage your appliance.
Is it safe to use vinegar for descaling a baby’s milk warmer?
Yes, white distilled vinegar is a safe and natural option for descaling baby appliances. It’s food-safe and effectively breaks down mineral deposits without leaving harmful chemical residues, provided you rinse the warmer thoroughly afterward.
How long does the descaling process usually take?
The active descaling process, including running the warmer with the solution, can take about 10-15 minutes. If you opt for soaking without heat, it might take 30 minutes to a few hours, or even overnight for very stubborn buildup, followed by thorough rinsing.
What if there’s still limescale after one attempt?
If traces of limescale remain after the first descaling, simply repeat the procedure. For very stubborn buildup, you might need to increase the vinegar concentration slightly (e.g., using equal parts vinegar and water) or extend the soaking time.
Can I use other descaling agents besides vinegar?
While some manufacturers offer proprietary descaling solutions, or recommend citric acid, using any other harsh chemical descalers is generally not recommended as they can damage the appliance or leave residues that are unsafe for baby products. Always check your specific warmer’s manual for recommended descaling agents.
Does descaling affect the warmer’s performance?
Regular descaling significantly improves your warmer’s performance. By removing limescale, you restore its heating efficiency, ensure even temperature distribution, and prevent potential malfunctions, ultimately extending the appliance’s lifespan.
Can I descale an infrared milk warmer?
No, infrared milk warmers, which heat bottles directly without using a water reservoir, do not accumulate limescale and therefore do not require descaling with vinegar or any other agent. Descaling is only necessary for warmers that use water and a heating element.